Get a pre-listing inspection.

 A pre-listing inspection by a certified home inspector is designed to catch everything the buyer’s inspector will be looking for, and I highly recommend you get one before you sell your home. In bringing in your own inspector before listing your home for sale, you can learn about the condition of your home so you can take care of any necessary repairs to critical systems in your home. Never in real estate history has a home’s sale price increased following a buyer’s inspection. Kelly Laird-Smith, a top producing agent for Coldwell Banker Coastal Alliance, put it this way, I don’t like surprises; the more I know up-front, the more I have to leverage and work with. So I get the inspection done ahead of time, then I can decide if we do the work or wait to negotiate with the buyer. Having a pre-listing inspection performed ensures you get as much money as possible for your home, and it also weeds out uncommitted home shoppers.


 Focus on health and safety items. 

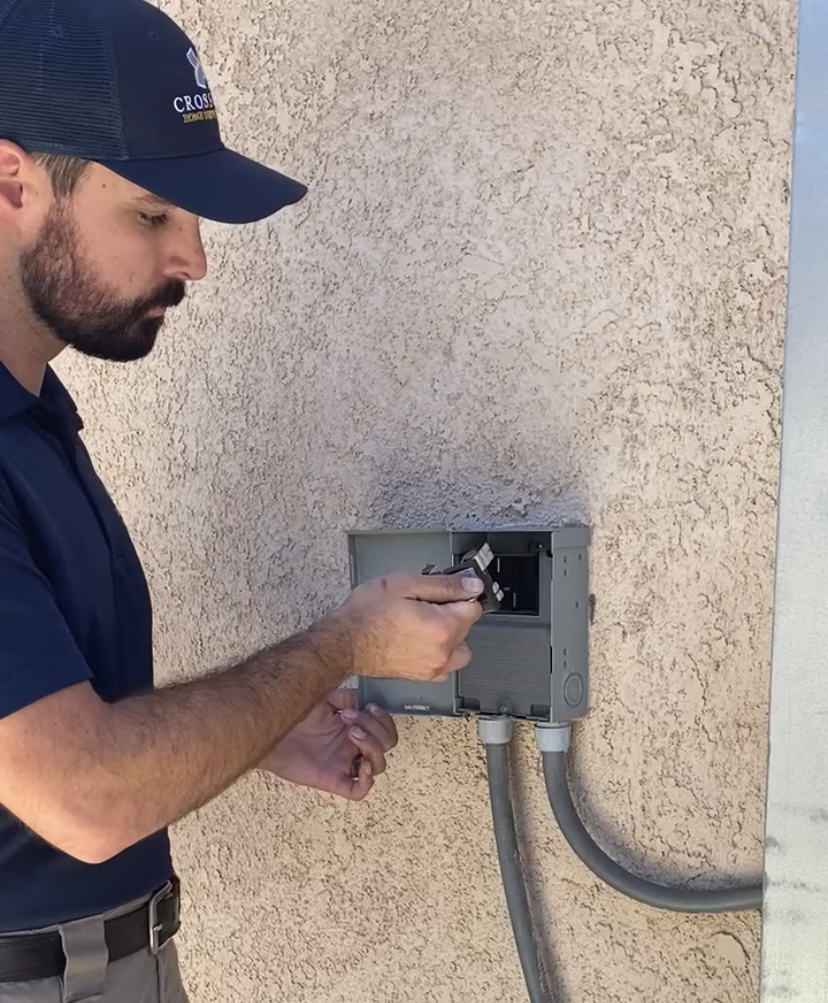
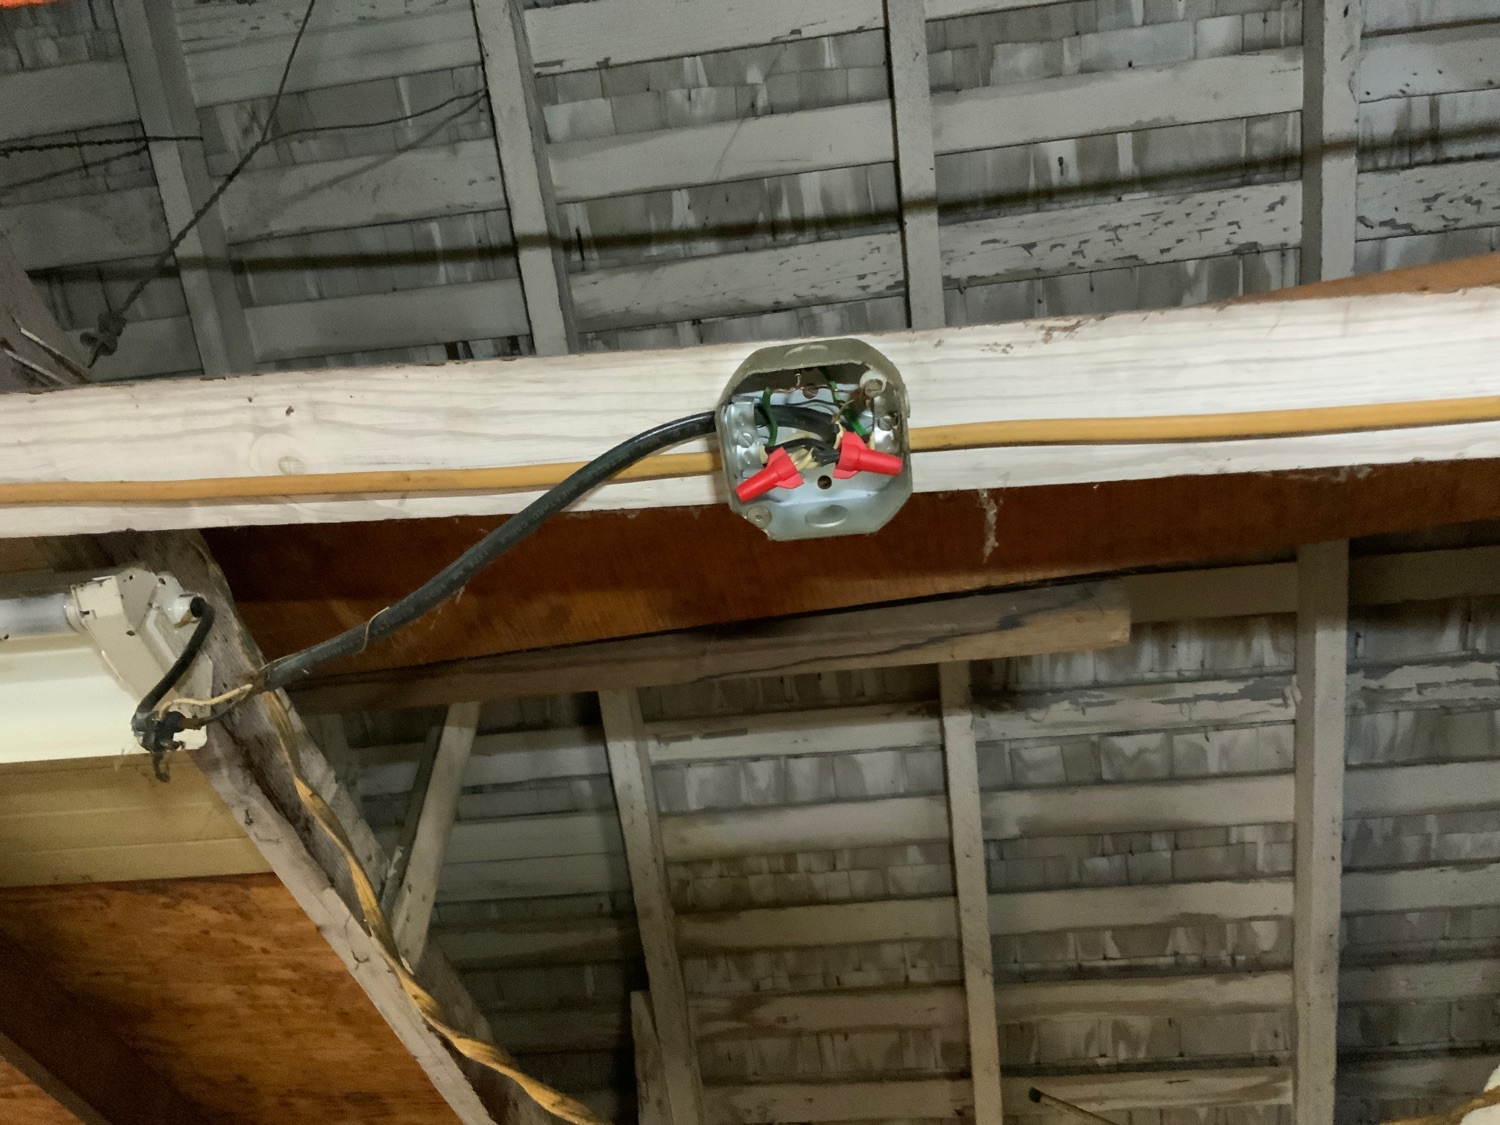
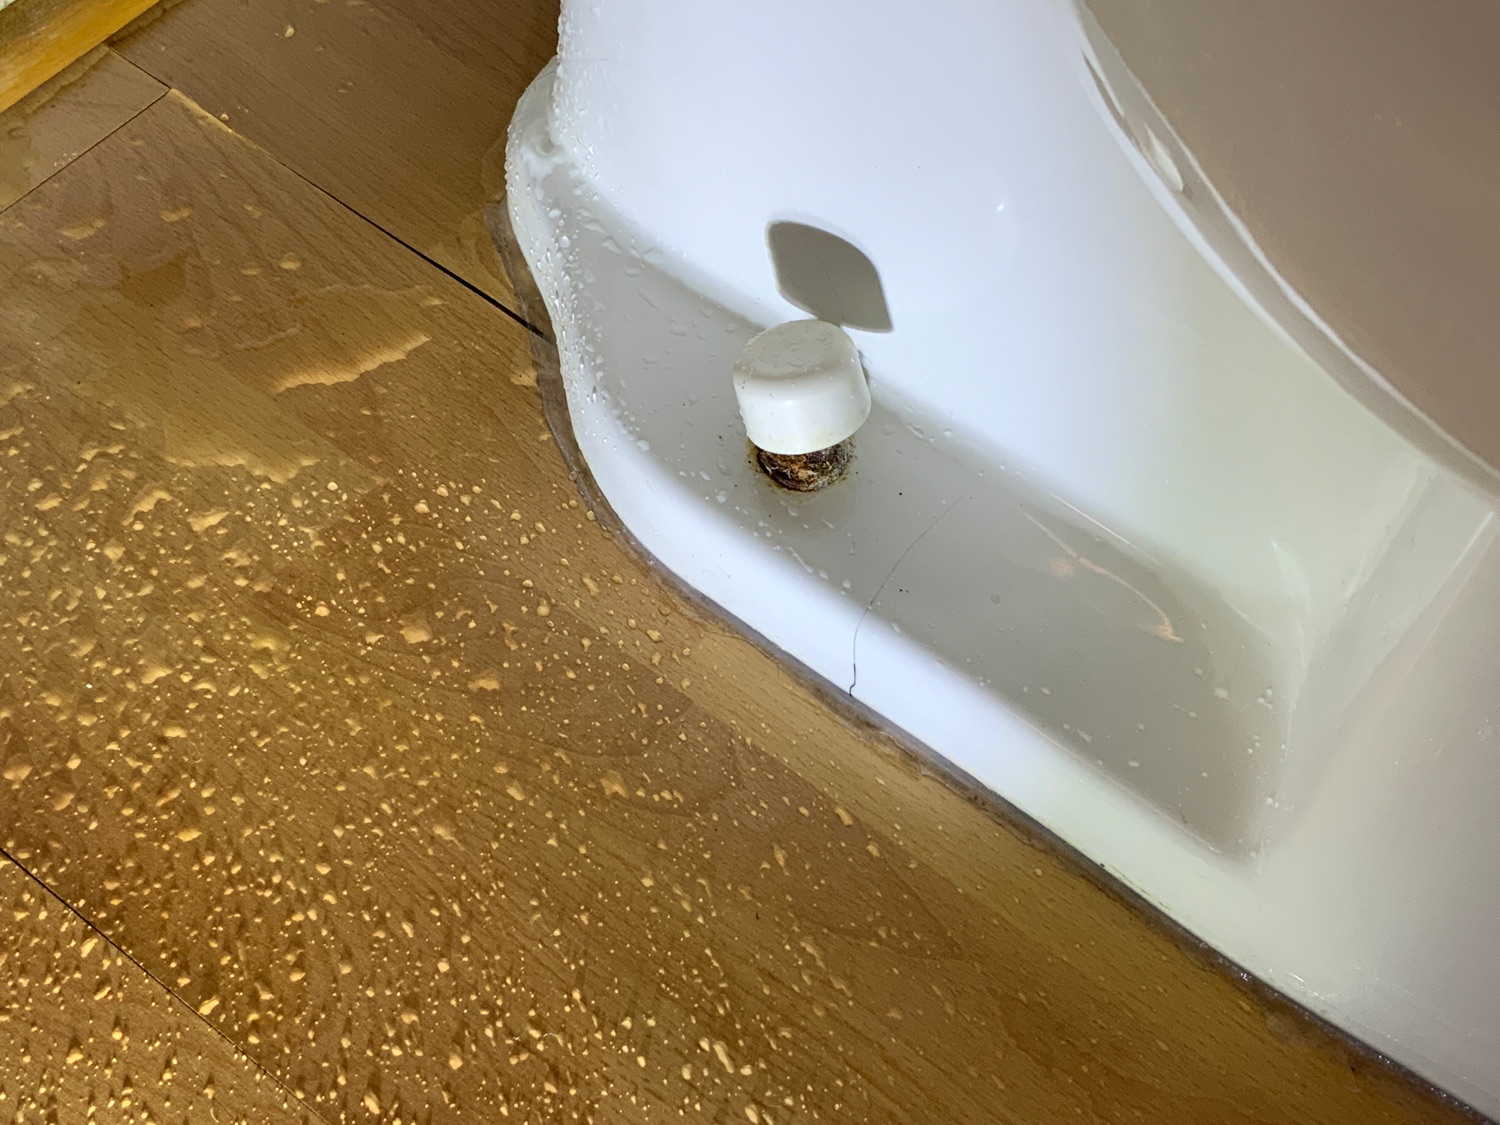
Defects in the home that are dangerous will be top of mind to potential buyers and their inspectors. During your pre-listing prep, make sure your smoke and carbon detectors are installed in the proper areas and have fresh batteries. Check visible electrical equipment, outlets in your bathrooms, kitchen, garage, and exterior are supposed to be GFCI protected. Don’t forget about any exposed wiring; a junction box should protect all electrical connections. Take a look at all fixtures and exposed plumbing; if you have a leak, it will surely be a hot button item once the buyer’s inspector delivers their report.      
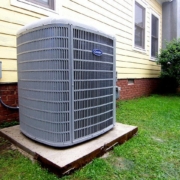
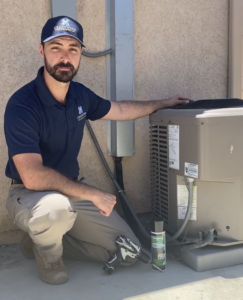
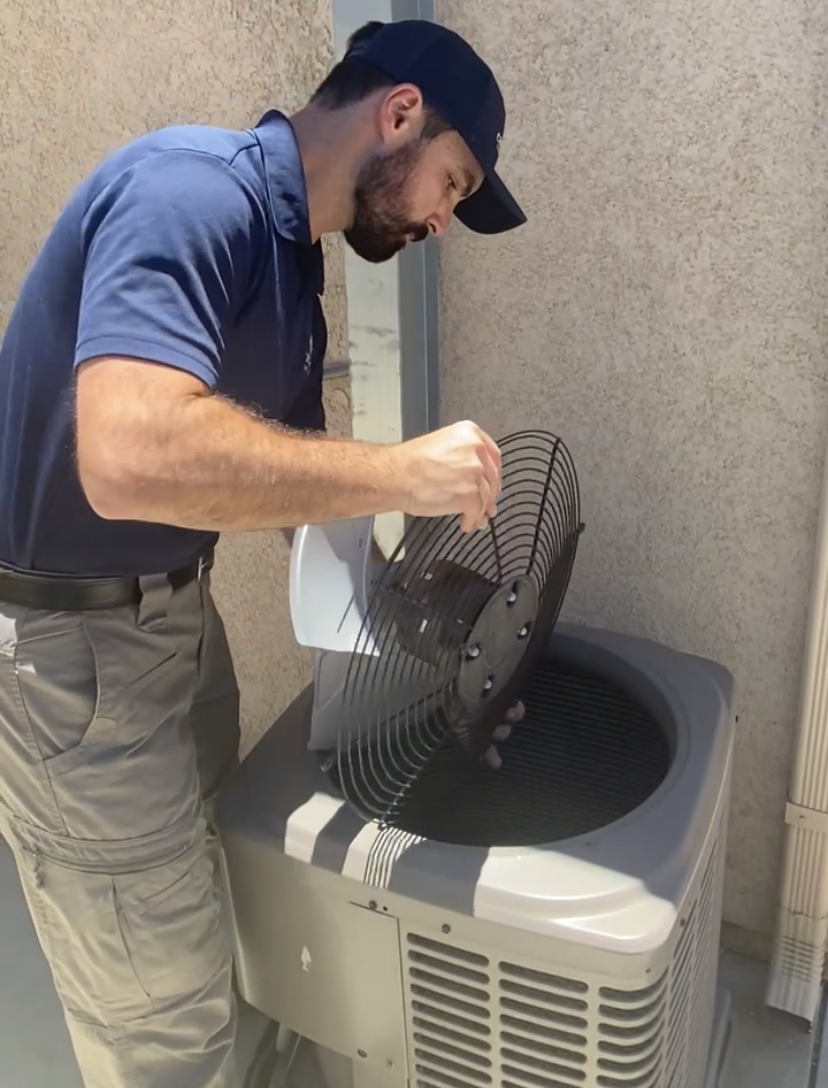
 Major systems. 

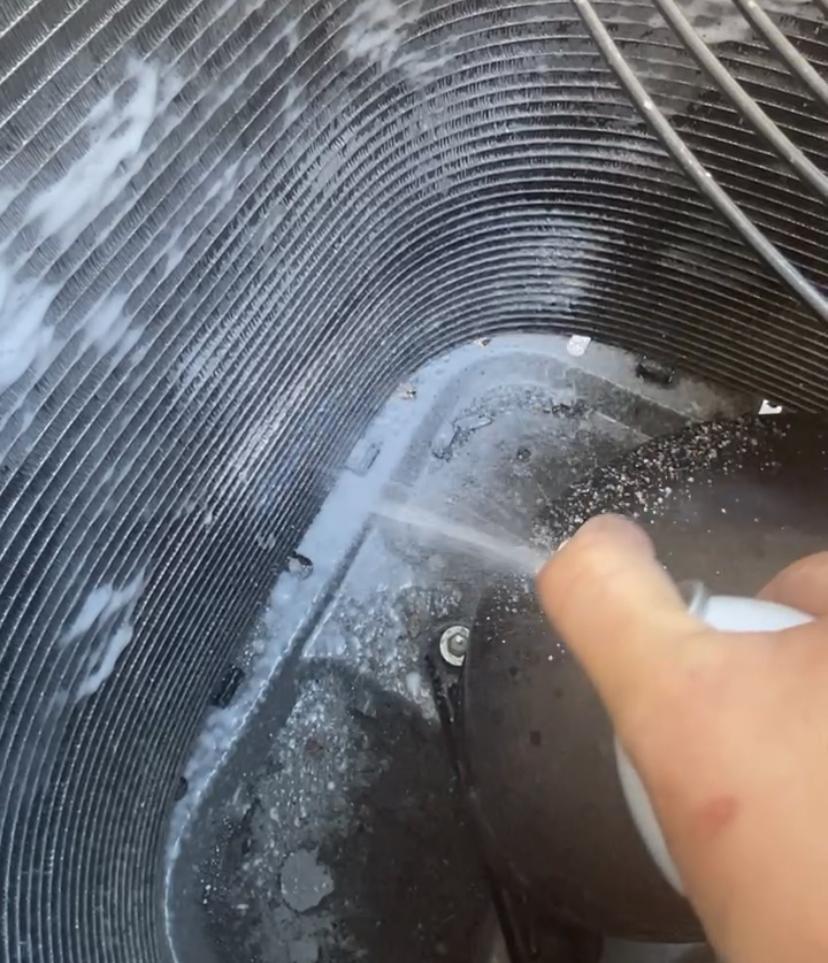
Verify all major systems and appliances are operating correctly. Some systems in your home are required to be functioning before you sell, such as the heating system.  Other components you want to take a good hard look at are your water heater, air conditioning system, and major appliances. All should be operating normally and have clean filters if applicable, and your water heater should be set to around 120º F.
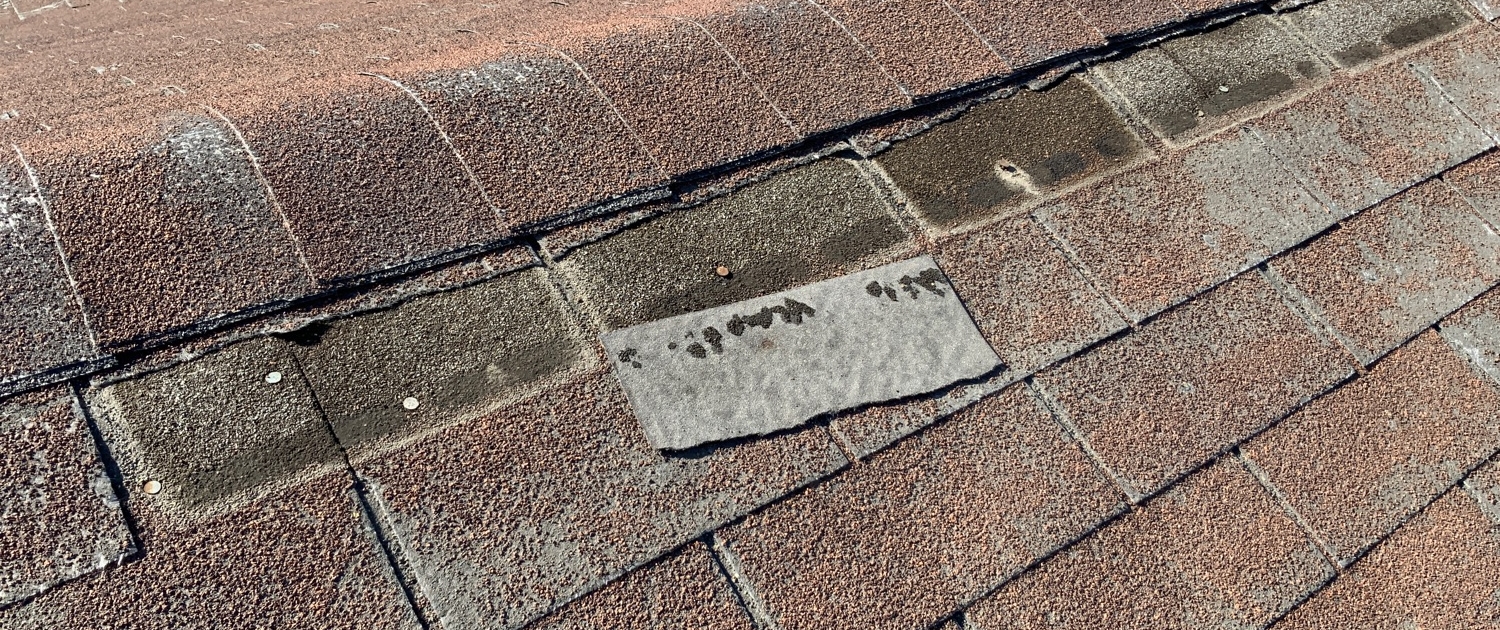
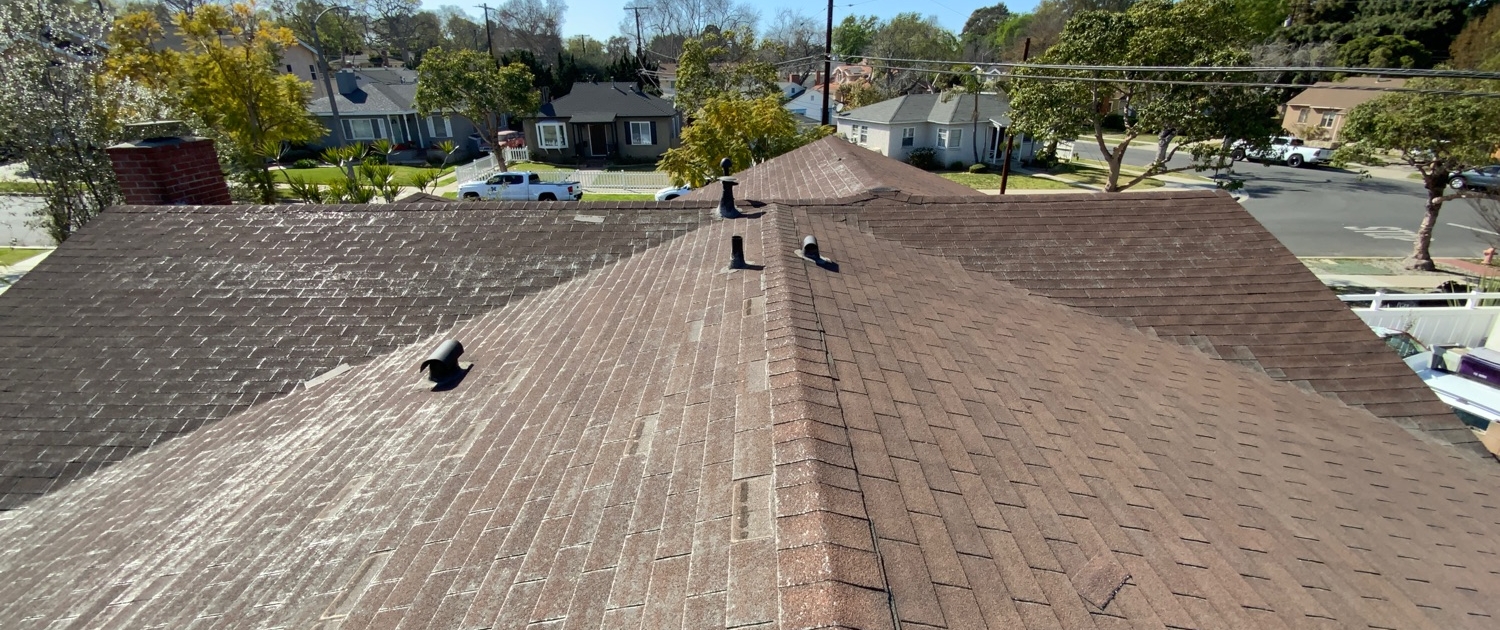
 Exterior envelop. 

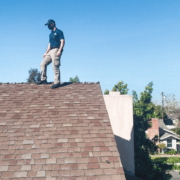
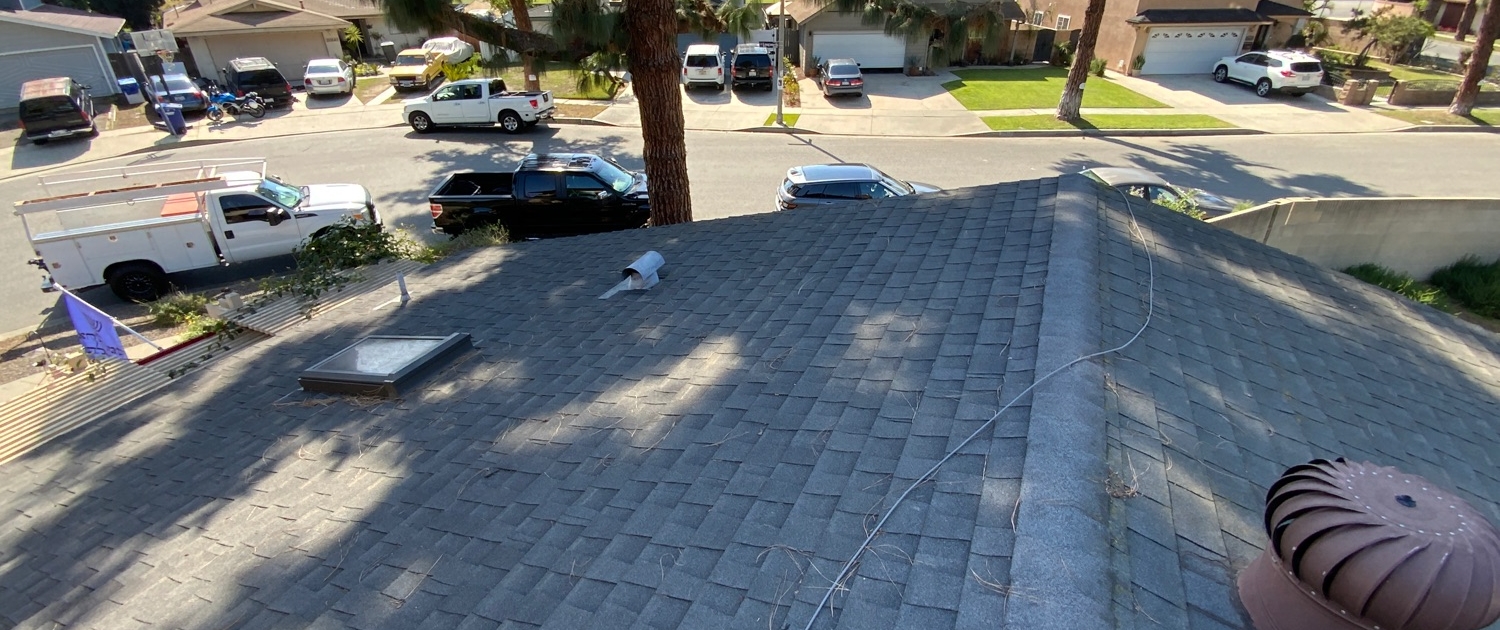
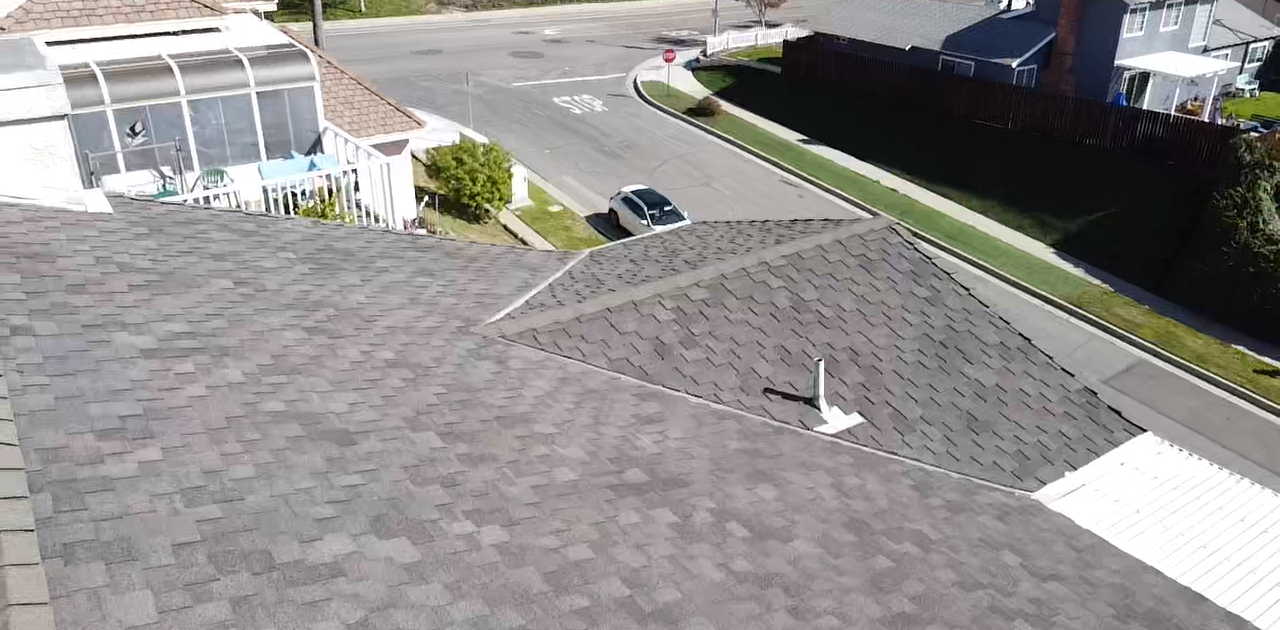
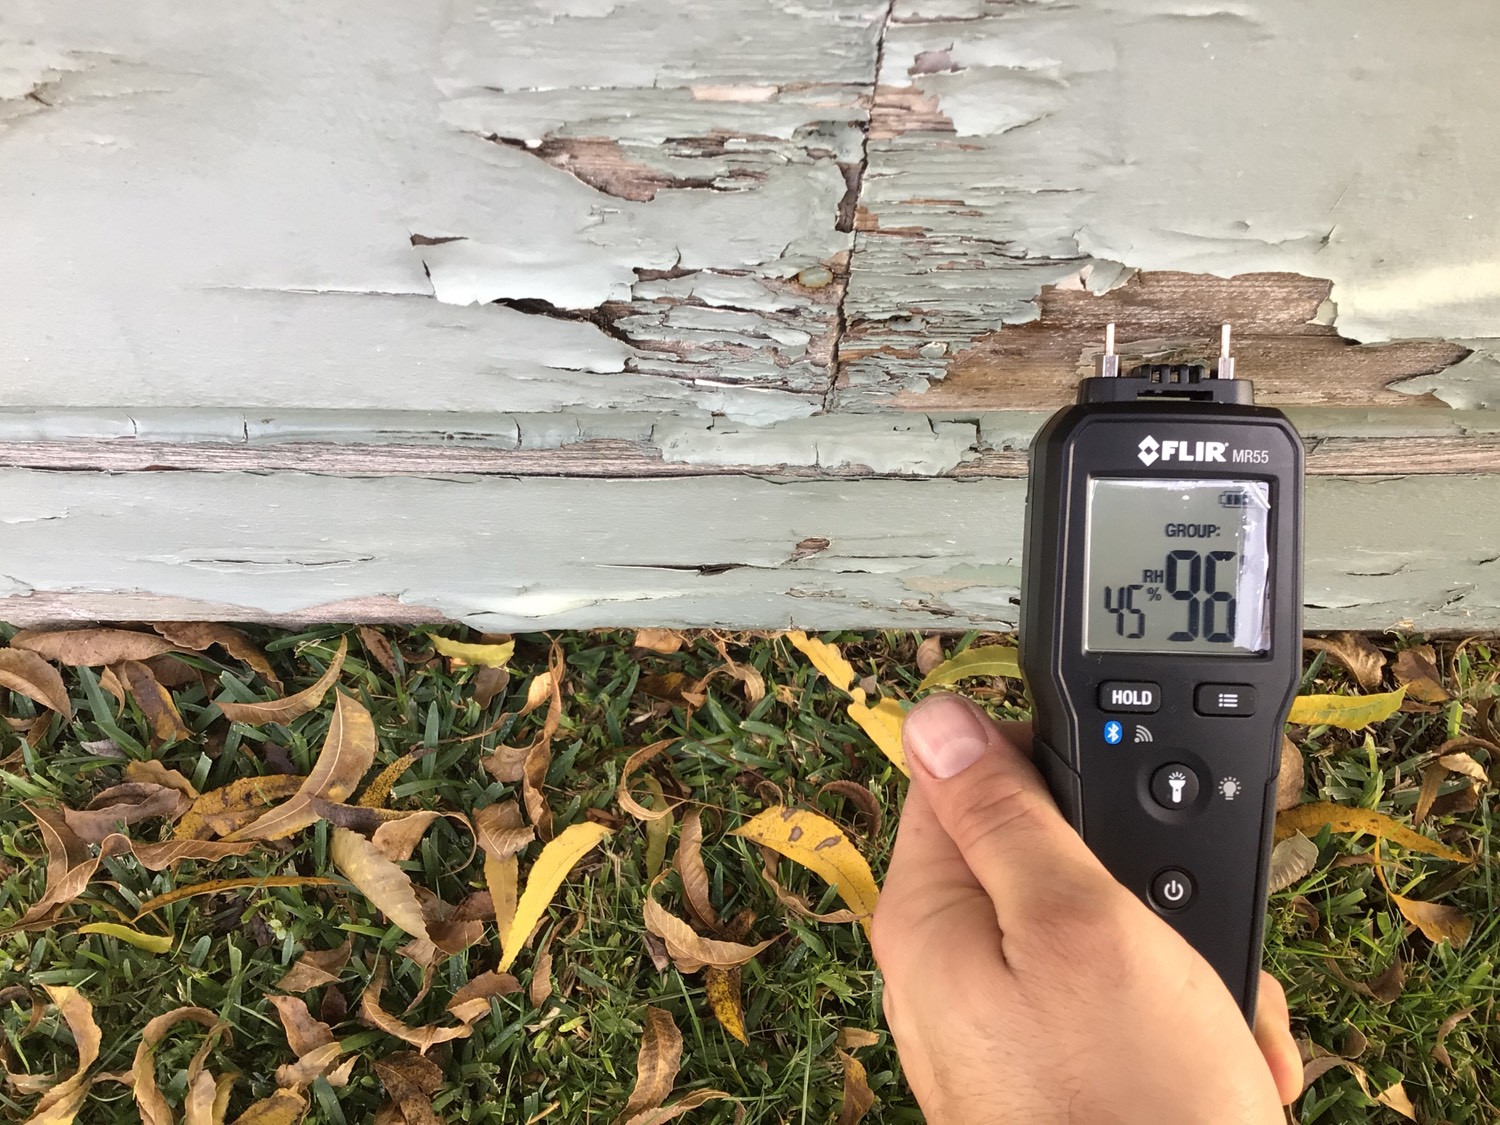
 Look around the outside of your home and look for small gaps in the siding. These gaps could allow pests into your home as well as unwanted moisture. Moisture and water damage is the single most expensive problem a homeowner can face. If the exterior check of your home reveals wood rot or deterioration that has already taken place in some areas, I recommend repairing it. The buyer’s inspector will be specifically looking for gaps in siding and flashing, so you must get to it first.


Unfinished spaces.

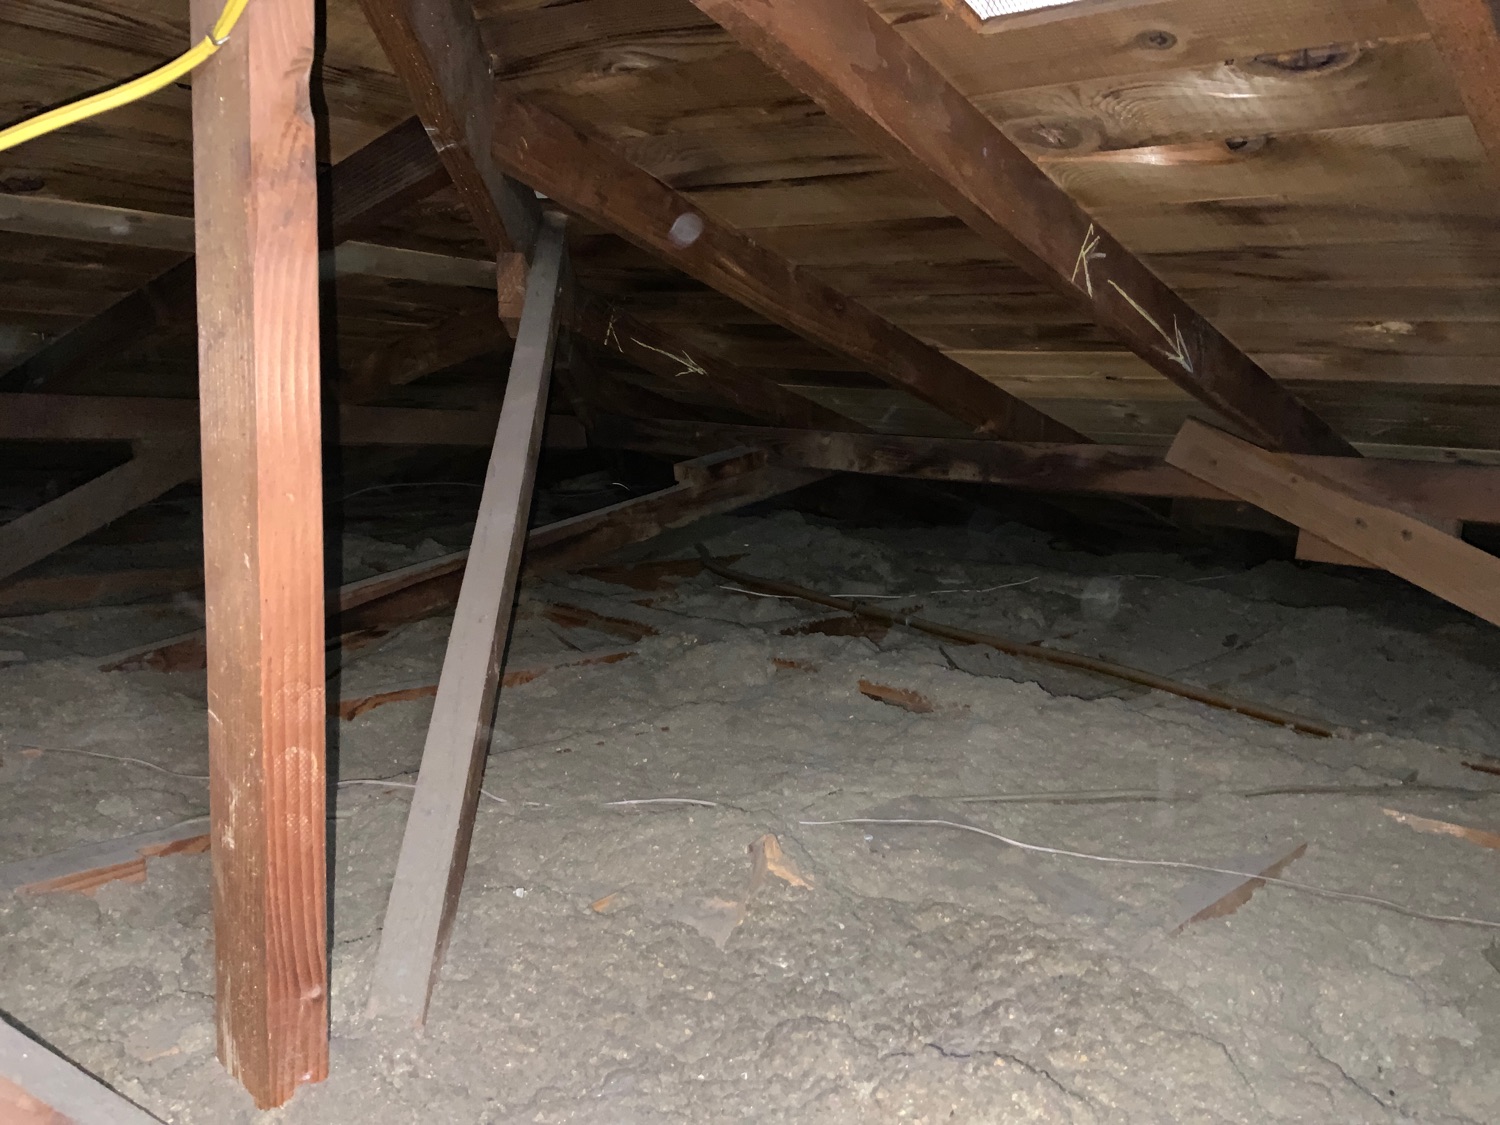
Take a look in your attic and crawlspace if you have one, and look for conditions conducive to mold growth. I’m talking about any plumbing leaks, lack of ventilation, or improperly exhausting bathroom and dryer vents. Poor airflow in unfinished spaces and, worse yet, venting humid air directly into an unfinished space, such as a bathroom vent, can contribute to microbial growth. Issues such as these are likely to alarm most buyers and cost you money during negotiations.

A/C condensor cleaning

Homeownership comes with so many benefits, but it also takes work such as annual A/C system maintenance. As with most HVAC systems in Southern California homes, you most likely have a split system consisting of an outdoor unit and an inside unit. The exterior unit has an array of tiny coils like a car’s radiator and a compressor underneath a protective cover. The interior side of the system contains another set of small coils called the evaporator coil and the blower motor.

Contrary to popular belief, air conditioning systems don’t actually produce cold air. Instead, they remove heat and moisture from the air and then distribute that now-cooler, drier air throughout the home through distribution ducts. The heat is carried outside by refrigerant through the “line set” to the exterior condenser coils, where the heat radiates into the atmosphere.

A/C system maintenance

A/C system maintenance and cleaning are required to keep everything running efficiently and safely. Having dirty and clogged coils can contribute up to a 30% energy efficiency loss, costing you money all summer long by making your air conditioning system work harder than it should. Some A/C system maintenance should be left to the pros, such as duct cleaning and servicing of the evaporator coils in the interior unit. However, you can accomplish some routine maintenance such as filter replacement and exterior condenser coil cleaning. The coils outside of the house should be cleaned at least once every year, preferably before the summer season.

How to clean your condenser coil unit

There are some basic tools and supplies that you need to clean your coils, such as basic hand tools like a screwdriver or a socket set (it will depend on your individual unit), a can of coil cleaner, and a garden hose.

Safety first

Most importantly, it would be best if you work safely. Adjacent to the A/C unit is a little box with a conduit connected to it- this is your service disconnect. The service disconnect acts as a circuit protection device and a safety disconnect to protect those working on the system. With the air conditioner not running, open the cover and pull out the disconnect. Pulling the disconnect will make sure the air conditioning system does not start running while you have it opened up.

Remove the condenser cover and flip the motor out of the way.

Next, grab your hand tools and remove the fasteners that are securing the top cover and motor. Remember to put the fasteners in a safe place so you don’t lose them, and gently lift the cover and motor up and out of the way. This is how you will gain access to the condenser coils for cleaning. Be sure not to put any stress on the electrical wires attached to the motor when you set it aside.

Use the coil cleaner and a garden hose to wash away built-up debris

Take a look at the inside and gently remove any large debris like leaves collected at the bottom.  Be careful not to bend the tiny fins of the coils as they are very delicate and easily damaged. Grab your can of coil cleaner and thoroughly spray the inside surfaces of the coils; go ahead and use the whole can. The coil cleaner is specially formulated to gently lift and dissolve any built-up dirt deposits without damaging the coils. After about 20 minutes of soaking, gently flush the cleaning solution through the coils with a garden hose; do not use a high-pressure stream, remember the fins are delicate, and we want to flush the dirt away gently.

Reassemble the unit by putting everything back together in the reverse order in which you took it apart. Flip the fan and motor assembly back over, set it in its place, and install and tighten the screws or bolts that hold the cover in place. Next, reinstall the service disconnect fuses and close the cover. Lastly, go inside to the thermostat and turn on the air conditioning system to make sure everything functions properly. Congrats! You have now singlehandedly improved the efficiency of your air-conditioning system!

Inspection asphalt shingle roof

If you own a home, you have a roof to take care of, and my guess is seven out of ten of you have an asphalt shingle roof. Here in the southland, asphalt shingles cover the vast majority of homes, and for a good reason. They are the least expensive option to choose from when shopping for a new roof and will get you fifteen to thirty years of good use if properly maintained.

You have a few types of shingles out there to choose from. A very popular option is called a three-tab shingle. It’s the lightest weight and least expensive of the options and will typically yield 15-20 years of good life.

Another type is what is called an architectural shingle. Next time you drive through your neighborhood, take a look at the roofs in the area. When you see a roof with a neat-looking pattern, you know you are looking at an architectural asphalt shingle. These shingles are typically a lot thicker than the three-tab shingle. They are more durable, too, often boasting an expected lifespan of thirty years or more.

Asphalt shingle roof

Asphalt shingles are an excellent roofing material but are not immune to problems either. Roofs can leak when it rains and will eventually become damaged by the elements. Strong winds can rip shingles off and throw debris from trees onto the roof, causing damage, and UV rays from the sun will deteriorate the surface over time. I recommend setting a ladder at the eaves of your roof and taking a good look at it about twice a year. Finding and identifying small problems now, will help you prevent big expensive issues later. Remember, there is no convenient time to discover a roof leak.

What to look for


When you take a look at your roof, I want you to pay attention to the following. Search for nails that are sticking through your shingles; there shouldn’t be any exposed fasteners. Exposed nails can allow water to slowly creep through the shingles and into the roof sheathing allowing moisture damage to occur.

Damaged asphalt shingle roof

Furthermore, look for cracked or missing shingles. Strong winds can rip off older shingles that have been weakened by years of exposure to the elements. A missing shingle is a significant issue when it comes to water-shedding capabilities. If you find any damaged shingles, I recommend contacting a licensed roofing contractor to replace any affected shingles.

Worn out asphalt shingle roof


Lastly, I want you to look at the overall condition of the roof covering. You should check for general wear and loss of the granular material covering the shingles. Shingles that are starting to lose the rough sand like material on top will age faster and faster as the material gets washed away by wind and rain. When you see areas of the asphalt roof covering that look shiny when the sun hits it, you should start thinking about budgeting for repairs or replacement. Shingle roofs that look shiny have lost a considerable amount of granular material and are about at the end of their lifespan.

As a homeowner I recommend you integrate a periodic roof check into your yearly home maintenance plans. Catching small issues now will go a long way to ensure your home is in top shape for years to come.


Bathroom fans and why you need them


Have you ever wondered why some bathrooms have fans in the ceiling? Bathroom exhaust fans are designed to remove the inevitable humidity created by running hot water at the sink and running the shower. Excess indoor humidity often times helps create an environment prone to indoor mold growth, which no homeowner wants to have to deal with.


There are a few different types of bathroom fans available, but we are only going to focus on two types in this post. Those types are ducted exhaust fans and ductless exhaust fans.

Ducted fans are far more prevalent in residential buildings and are my preferred design. Ducted fans should be installed so that the duct carries the humid air from the bathroom directly to the exterior of the home. This means it should not deliver the air to a crawlspace or to an attic space as this will create a humid environment that could cause paint to peel, wood to warp, and mold to grow.


The second type of bathroom fan that we’ll discuss is a ductless system. Ductless bathroom fans typically use a canister with charcoal in it to filter odors out of the air. Some companies also claim that they reduce the humidity in the room by soaking up moisture. Personally, I disagree with that method; there’s no place for the moisture to go after the charcoal absorbs it except back into the ambient air where it originally came from. If you are going to install a ductless fan, then make sure to install it in a half-bath where there isn’t a shower or a tub.


Thankfully bathroom exhaust fans don’t require a ton of maintenance. Every year or so get up there and clean all the dust and lint off the fan screens. A buildup of debris on the screen significantly increases the risk of a fire. The air that passes through the fan is also the air that cools the motor and electrical components in the fan.


Who knew bath fans were so important features of a home? Make sure you have the right type of fans in the right places and ducting properly and you’ll be in good shape.