prelisting inspections help calm fears and entice serious buyers

Preparing for a home inspection is a critical step for homeowners looking to sell their property, as it can significantly impact the outcome of the inspection and, subsequently, the sale of the home. Here are some essential tips to help homeowners ensure their property is ready for a home inspection, increasing the likelihood of a positive report.

First, decluttering is key to a successful home inspection. Clearing away personal items and excess belongings not only makes the property more visually appealing but also allows the inspector easy access to important areas. A clutter-free environment allows for a more thorough inspection of structural elements, electrical systems, and other critical components, reducing the chances of overlooking potential issues.

Addressing minor repairs before the inspection is another important step. Fixing leaky faucets, repairing damaged flooring, and addressing chipped paint may seem small, but they contribute to an overall impression of a well-maintained home. Home inspectors take note of these details, and addressing them in advance can prevent unnecessary concerns during the inspection process.

Ensuring that all utilities are turned on is often overlooked but is a vital aspect of preparation. Home inspectors need to test various systems, including heating, air conditioning, plumbing, and electrical. If these utilities are not functioning during the inspection, it can lead to incomplete assessments and may even necessitate a return visit, causing delays in the selling process.

Homeowners should also create easy access to key areas of the property. Clearing a path to the attic, basement, and electrical panel ensures that the inspector can examine these spaces thoroughly. Additionally, if the home has a crawl space, making sure it is accessible and well-lit is crucial for a comprehensive inspection. Accessibility saves time and demonstrates the homeowner’s commitment to transparency.

Lastly, being transparent about known issues is an ethical and practical approach. If there are known problems with the property, it’s advisable to inform the inspector upfront. This openness fosters trust and allows the inspector to focus on verifying the condition of the home rather than spending unnecessary time searching for undisclosed issues.

In conclusion, preparing for a home inspection involves a combination of decluttering, making minor repairs, ensuring utilities are functioning, providing easy access to key areas, and being transparent about known issues. By investing time and effort into these preparations, homeowners can maximize the chances of a positive home inspection report, instilling confidence in potential buyers and facilitating a smoother real estate transaction.


After the Storm: The Vital Role of Roof Inspections

When a powerful storm passes through, one of the most vulnerable parts of your home is your roof. Heavy rains, strong winds, and even hail can take a toll on its structural integrity. After the storm subsides, it’s crucial to conduct a thorough roof inspection to assess any damage that may have occurred. In this blog post, we’ll explore the significance of post-storm roof inspections and why they should be a priority for every homeowner.

Wind damaged roof


Detecting Visible Damage

After a storm, it’s common for roof damage to be visible even from the ground. Missing or broken shingles, dented metal roofing, and displaced tiles are telltale signs of potential issues. Conducting a visual inspection from the ground can give you an initial idea of the damage that might need further investigation.

Checking for Leaks

Water infiltration is a major concern after a storm, especially if your roof has sustained damage. Even small openings can lead to significant leaks over time. During your roof inspection, be sure to check for water stains on ceilings, walls, or in your attic. Identifying leaks early can prevent further interior damage and mold growth.

Assessing Wind Damage

Strong winds can lift and loosen shingles or other roofing materials, leaving your roof exposed to the elements. Look for shingles that have curled, torn, or are completely missing. Wind damage can compromise the protective barrier of your roof, leading to water penetration and other issues.

Storm damaged roof roof inspections


Hail Damage Evaluation

Hail can cause severe damage to roofs, particularly asphalt shingles. It can create dents, cracks, and holes, reducing the shingles’ effectiveness in protecting your home. Inspect your roof for dimples or areas where granules have been knocked off. If you suspect hail damage, it’s wise to consult a professional for a more thorough assessment.

Chimney, Flashing, and Gutters

During a storm, components like chimneys, flashing, and gutters can also sustain damage. Check for any signs of dislodged flashing around vents, chimneys, and skylights. Inspect gutters and downspouts for debris that might have collected during the storm, potentially causing drainage problems.

Inspection asphalt shingle roof

Seek Professional Assistance

While you can perform a basic visual inspection yourself, it’s recommended to involve professionals for a more comprehensive assessment. Roofing experts have the knowledge and experience to identify hidden or subtle damage that might go unnoticed to an untrained eye. Their expertise ensures that all potential issues are addressed.

Prompt Repairs after your roof inspection 

Should you discover any damage during your roof inspection, it’s essential to address it promptly. Ignoring roof damage can lead to further deterioration, higher repair costs, and even interior damage. Schedule repairs as soon as possible to prevent additional problems.


Post-Storm Roof Vigilance

After a storm, your roof requires special attention to ensure it remains functional and able to protect your home. A post-storm roof inspection is an essential step in maintaining your home’s integrity and preventing more extensive damage. By promptly detecting and addressing any issues, you’ll be safeguarding your investment and ensuring the long-term well-being of your property. Remember, a little effort now can save you from bigger headaches down the line.

Afci circuit breaker


AFCI circuit breakers monitor their respective electrical circuits for problems that could cause a spark. They sound a lot like their cousins called GFCI breakers. However, they work differently. GFCI breakers protect the home occupants from accidental shock, whereas an AFCI breaker protects against sparks and fires. 

AFCI circuit breakers use advanced electronics to “sense” normal conditions and for dangerous situations. Operating an electric-powered vacuum cleaner, for example, will produce small arcs or sparks. This is considered a regular operation and would not be flagged by the AFCI circuit breaker.

An example of a dangerous Condition is when someone switches a light switch and a spark is generated in the junction box, causing the protection device to cut power to the circuit. Other examples of dangerous conditions are short circuits from one wire to another are caused by damaged conductor insulation or poor installation.


What does the national electric code say about AFCI breakers

2017 and subsequent National Electric Code section 210.12 does not arbitrarily require homeowners to switch over to AFCI’s. However, suppose you are replacing components in your electrical panel or modifying the branch circuits. In that case, your electrician will also have to install AFCI breakers or combo AFCI/GFCI breakers to stay code compliant. Just replacing your panel enclosure does not necessitate having to replace your breakers, as long as no circuits have been modified in the process.


How to know if you have AFCI breakers, and what to do if they cut power to a circuit.

If you notice some of your outlets aren’t working, or some interior lights won’t turn on, one of your arc fault circuit breakers may have tripped. Go out to your electrical, carefully open the dead front cover and get a look at your breakers. Look for breakers with small buttons on them and a label that says “AFCI” on them. If you don’t see any buttons on them, then you don’t have any AFCI breakers. The buttons are “test” buttons. Pressing them will test the breaker’s functionality to cut power to a circuit.

Note where the levers are positioned; they should be all the way over to the “on” side. Find any breakers that have tripped and reset them. If they do not reset on the first or second try, time to call an electrician.

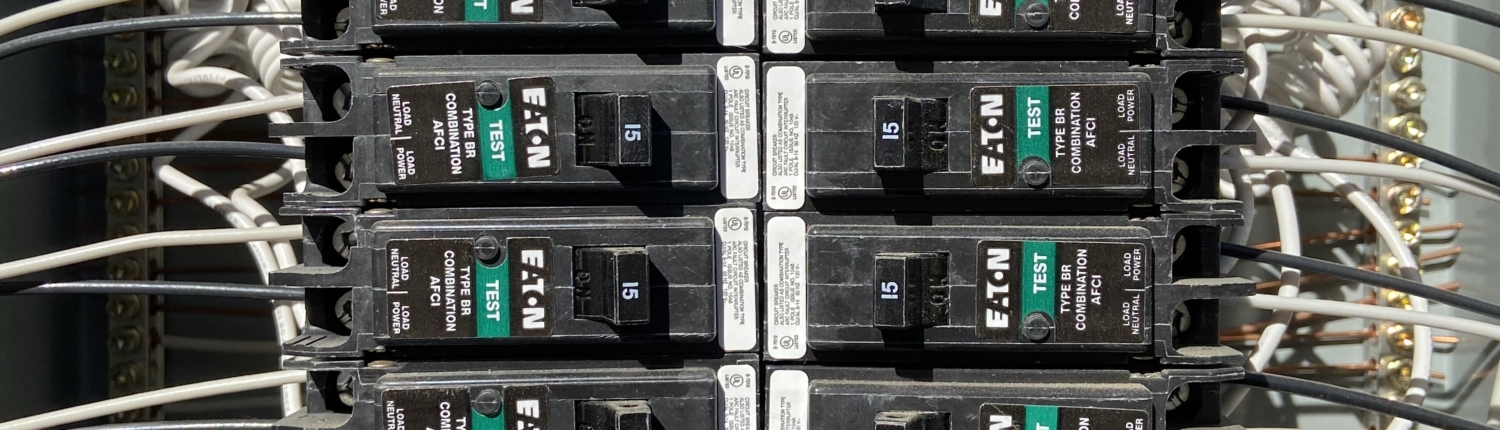
Should you replace your non AFCI breakers?

Should you replace your existing breakers with an AFCI circuit breaker? Well, that depends. Installing AFCI breakers on all 15 and 20 amp branch circuits in your home would be a significant safety upgrade if you don’t mind the cost of doing so. 

Required gfci outlets

Have you ever noticed that some of the outlets in your home have buttons but don’t know why they are there or what they do? Those outlets are called Ground Fault Circuit Interrupters, or GFCI outlets for short. Modern building code has required GFCI outlets be installed in homes since at least 1971.


Before GFCI’s, hundreds of people died every year from electrocution in the home. Today, that number is significantly lower. GFCI’s protect people from accidental electrical shock by sensing the electrical current flowing through the circuit and breaking the circuit when an imbalance is detected, such as when a hairdryer falls into a sink full of water. GFCI’s are different than the home’s circuit breakers in the breaker panel. Circuit breakers are designed to be the weak point in the circuit to protect the electrical system in case of a fault. Circuit breakers were solely designed to protect you in case of an electrical fault.


You can most easily identify GFCI outlets by the two buttons on the face of the outlet. One is a test button and one is a reset button. To test the functionality of the safety device, you need to press the test button. Pressing the test button removes power from the outlet and you should hear a click. To reset the outlet back to normal, just press the reset button and everything should work as it should. I recommend testing all your GFCI outlets monthly. Every now and then I’ll come across faulty GFCI outlets during home inspections any typically the homeowner isn’t even aware of the problem. 


Today GFCIs are required to be installed in areas that are susceptible to contact with water, such as bathrooms, kitchens, garages, and all exterior outlets. It’s common for homeowners not to have GFCI outlets in all the required locations because current building code is not retroactive, and back in the day, the requirements were not so strict. 


If you do not have GFCI’s installed, I recommend you have a licensed electrician out to install the new outlets to improve your home’s overall safety of your home. GFCI outlets can cost anywhere between $15.00 to $60.00 each. 

Smoke detector safety and maintenance
 It may be a surprise to many of you that smoke detectors or automatic smoke alarms have been around since before 1900.  They were first invented in England by a guy named George Andrew Darby. Around the same time, the U.S. National Fire Protection Agency was established, and it’s that government agency that regulates all things fire protection and prevention to this day.
Nowadays, everyone has smoke detectors in their home, and most of us don’t pay attention to them until they start annoyingly chirping in the middle of the night.  There are currently two types available to consumers, Ones that use photoelectric sensors and ones that utilize ionization sensors.  They both accomplish the same goal of warning occupants of a possible fire condition, but they have various attributes.  The ionization typw works better at detecting a flaming fire and the photoelectric type work better at sensing a smoldering fire.  For best results, a homeowner should have a mix of the two types of smoke detectors in their home or, for optimal effectiveness, a dual-sensor-type.
The NFPA code recommends installing smoke detectors in every bedroom, outside each bedroom, and at least one on every home floor.  If a building level doesn’t have a bedroom, installing a smoke detector in the main living area is preferred.  As we all know, heat and smoke rises, so homeowners should install smoke detectors within a foot of the ceiling.  It’s a great idea for the highest margin of safety to have all hard-wired smoke detectors on the same branch circuit; that way, if one detector goes off, they all will go off.
No doubt you’ve been awakened at night by a chirping smoke detector; that’s the alarm’s way of telling you that the backup battery is running low and needs to be replaced.  An easy way to remember to charge the battery is to change all your smoke detector batteries when the time changes.  When you’re up there replacing the batteries, please take a quick look at the sensing ports to make sure they aren’t clogged with dust, as that will inhibit the sensors’ ability to function correctly.  Also, it would be best if you never paint your smoke detector for the same reason.
Like everything in this world, smoke detectors have a lifespan, and they are designed to function for about ten years and then be replaced.  If your smoke detectors are yellow, then it’s well past their expected lifespan.  They aren’t yellow because of a previous owner’s smoking habits but rather because of a fire retardant chemical called bromine that is in the plastic; bromine causes the plastic to turn yellow with age.  Yellow smoke detectors may be working fine at the moment, but it would be prudent to replace them.


I’m willing to bet the vast majority of home owners do not know what type of fire extinguisher is in their home. In fact only about ten percent of the homes I inspect even have fire extinguishers. There are two places in the home that should have one installed, the kitchen and the garage. Let’s face it, shit happens. And when it does you’re going to wish you were prepared.


There are four types of fire extinguishers that are appropriate for home use and they are categorized by letters. A type fire extinguishers are designed to put out paper and trash fires. B type fire extinguishers are designed to put out liquid or fuel fires. C type fire extinguishers are utilized for electrical fires. Lastly D type fire extinguishers put out metal fires. The typical fire extinguishers you are going to find at home improvement stores are multipurpose extinguishers called ABC fire extinguishers. You guessed it, they are supposed to be used on all types of fires except for metal fires and are the best type of extinguisher to have in a residential setting.


If you own a fire extinguisher (and you should), I recommend periodically inspecting it for serviceability. This is very easy to do and only takes a minute.

Step one: Make sure there are no dents or bulges on the canister body.

Step two: Verify that the nozzle is not damaged or clogged.

Step three: Check that the needle on the pressure gauge is in the green section.

Step four: Make sure the safety pin or seal is securely in place on the discharge handle.


When you install a fire extinguisher in your home or garage, make sure it is readily accessible and in a conspicuous location. I feel it’s best everyone that lives in the home should be thought how to properly utilize the extinguishers that are at the home. Fire extinguisher training can be obtained at any local fire department.